
How to Build and Use a Jockey Box
Jockey Box
Alright, let's talk about building and using a jockey box! This is a fantastic piece of equipment for keeping your beverages perfectly chilled and ready to serve, especially when you're entertaining or at an event.
What Exactly is a Jockey Box?
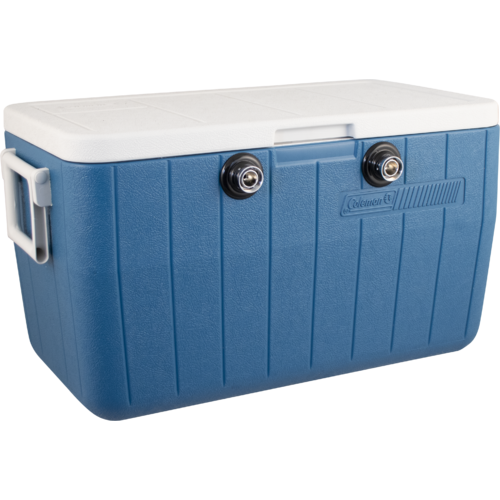
At its core, a jockey box is a portable, insulated container designed to cool beverages as they are dispensed. Think of it as a mini, mobile draft system. It works by using a cold source (usually ice) to chill coils or plates through which your beverage flows before it reaches your tap. This ensures that even if your keg is at room temperature, your drink comes out refreshingly cold.

Building Your Own Jockey Box: A Step-by-Step Guide
Building a jockey box can be a rewarding DIY project. While there are many variations, here’s a common approach using readily available materials.
Materials You'll Need:
Insulated Cooler: A good quality, sturdy cooler is your foundation. Size will depend on how many taps you want and how long you need it to last.
CO2 Tank & Regulator: For dispensing the beverage.
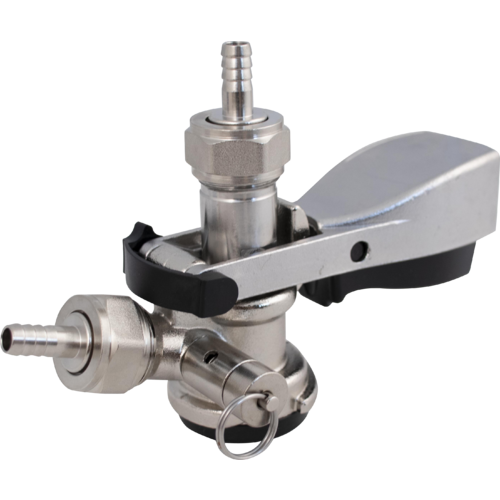
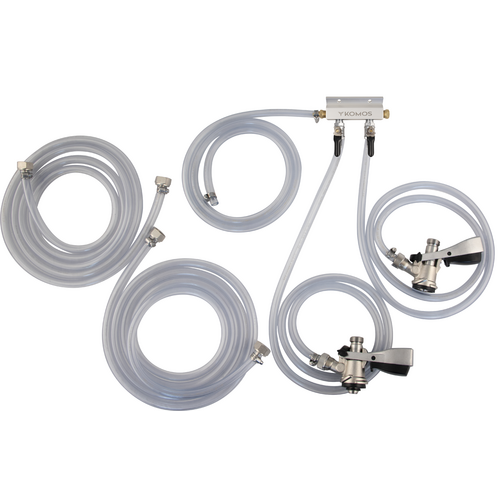
Gas Line & Sanke Coupler (Or Ball Lock Disconnect for Homebrew): To connect your CO2 to the keg.
Beverage Tubing: Food-grade tubing for your beverage to flow through.
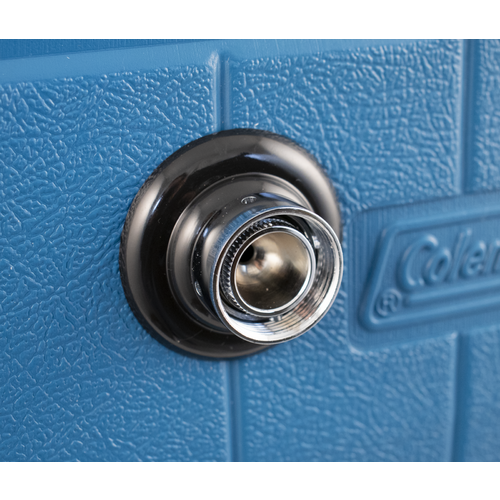
Stainless Steel Faucet/Tap: The dispensing point.
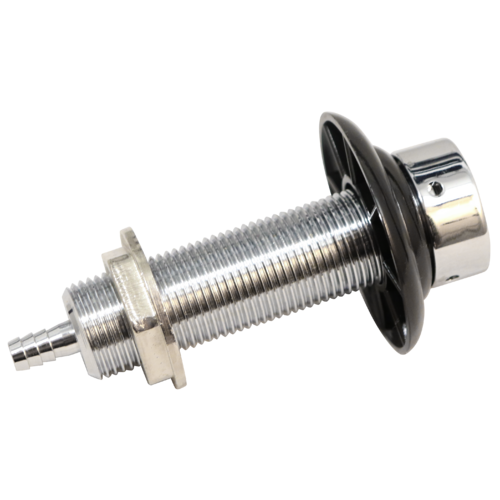
Stainless Steel Faucet Shank: To mount the faucet through the cooler wall.
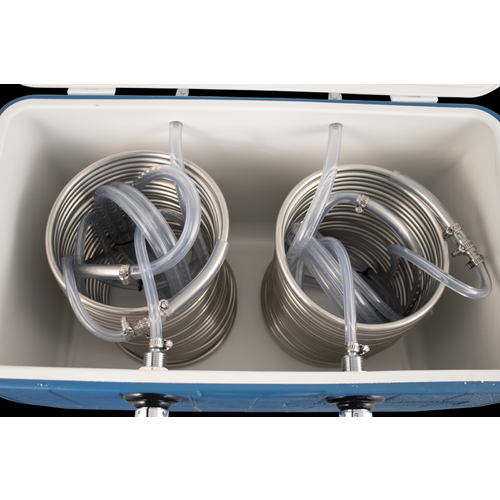
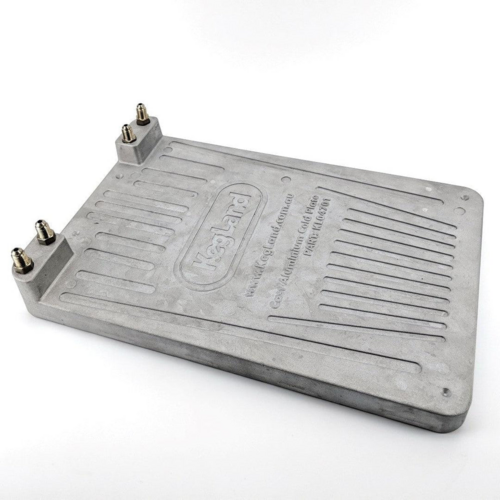
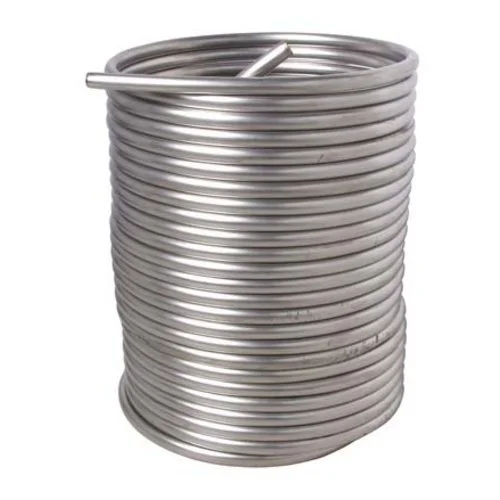
Stainless Steel Coil or Cold Plate: This is the crucial cooling element. A stainless steel coil is common for DIY builds, while cold plates are an upgrade.
Barbed Fittings & Clamps: To connect tubing to the coil/plate and faucet shank.
Drill & Hole Saws: For making necessary holes in the cooler.
(Optional) Manifold: For multiple CO2 lines if you plan on dispensing multiple kegs simultaneously.
Construction Steps:
Prepare the Cooler: Clean the cooler thoroughly. Decide where your tap(s) will be located. Mark and drill holes for the faucet shank(s). Ensure the holes are just large enough for the shank to fit snugly.
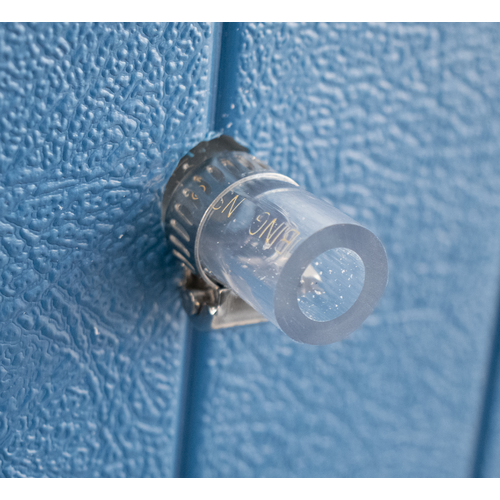
Install the Shank(s) and Faucet(s): Insert the faucet shank(s) into the drilled holes. Secure them with the provided nut and washer, ensuring a watertight seal. A bit of plumber's tape on the threads can help.


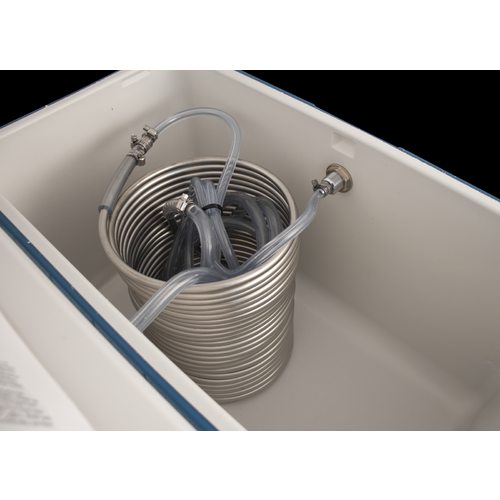
Set Up the Cooling Element: For a Coil: Carefully coil your stainless steel tubing inside the cooler. Try to arrange it so that the beverage flows through a significant length of the coil to maximize cooling. You can use zip ties or wire to secure it in place. For a Cold Plate: Mount the cold plate inside the cooler. These are often designed to sit at the bottom or be mounted vertically.
Connect the Tubing: Connect one end of your beverage tubing to the outlet of your stainless steel coil or cold plate using barbed fittings and clamps. Connect the other end of the beverage tubing to the inlet of your faucet shank, again using appropriate fittings and clamps.
Inlet Connection: You'll need a way to get the beverage from your keg into the jockey box. This is typically done via a line that connects to the inlet of your coil or cold plate Through the back wall of the jockey box. A Sanke coupler is then used to connect the beverage line and gas line to the keg.
Assemble the CO2 System: Connect your CO2 regulator to the CO2 tank. Run a gas line from the regulator to your keg's gas-in post on the sanke coupler.
Test for Leaks: Once everything is assembled, pressurize the system with CO2 (without beverage) and check all connections for leaks. A spray bottle with soapy water is your best friend here.
Using Your Jockey Box: Serving Perfection
Now that your jockey box is built, let's get it ready for action.
Chill the Cooler: Fill the jockey box generously with ice. Block ice tends to last longer than cubed ice, but a mix can work well. Add a bit of water to help with heat transfer, but not so much that your tubing isn't submerged or the cooler is too heavy. Allow the jockey box to chill for at least 30-60 minutes before you plan to serve. This gives the ice time to cool down the coils/plate and the surrounding air.
Connect Your Keg: Ensure your beverage keg is properly carbonated. Connect your Sanke Coupler. Set your CO2 pressure according to the beverage's requirements (e.g., 30-40 PSI for many beers to push through the coil).
Purge the Lines: Before serving, briefly open the faucet to let out any air in the beverage lines.
Serve and Monitor: Open the faucet and dispense your perfectly chilled beverage. Keep an eye on the CO2 pressure and the ice level in the jockey box. You may need to add more ice as it melts. If serving for an extended period, you might need to periodically adjust CO2 pressure or refill the ice.
Tips for Success:
Cold is Key: The colder your beverage is going into the jockey box, and the more ice you use, the colder it will come out.
Tubing Length: Longer beverage tubing through the coil/plate means more contact time with the cold, resulting in a colder drink.
CO2 Pressure: For longer draws or to overcome the resistance of the coil, you'll need higher CO2 pressure than you might use for serving directly from a keg. Experiment to find what works best for your setup and beverage.
Maintenance: After use, drain the cooler, rinse out any residue, and allow it to dry thoroughly to prevent mold and odors.
Building and using a jockey box is a fantastic way to elevate your beverage service. Enjoy the process and the perfectly chilled results! Cheers!