
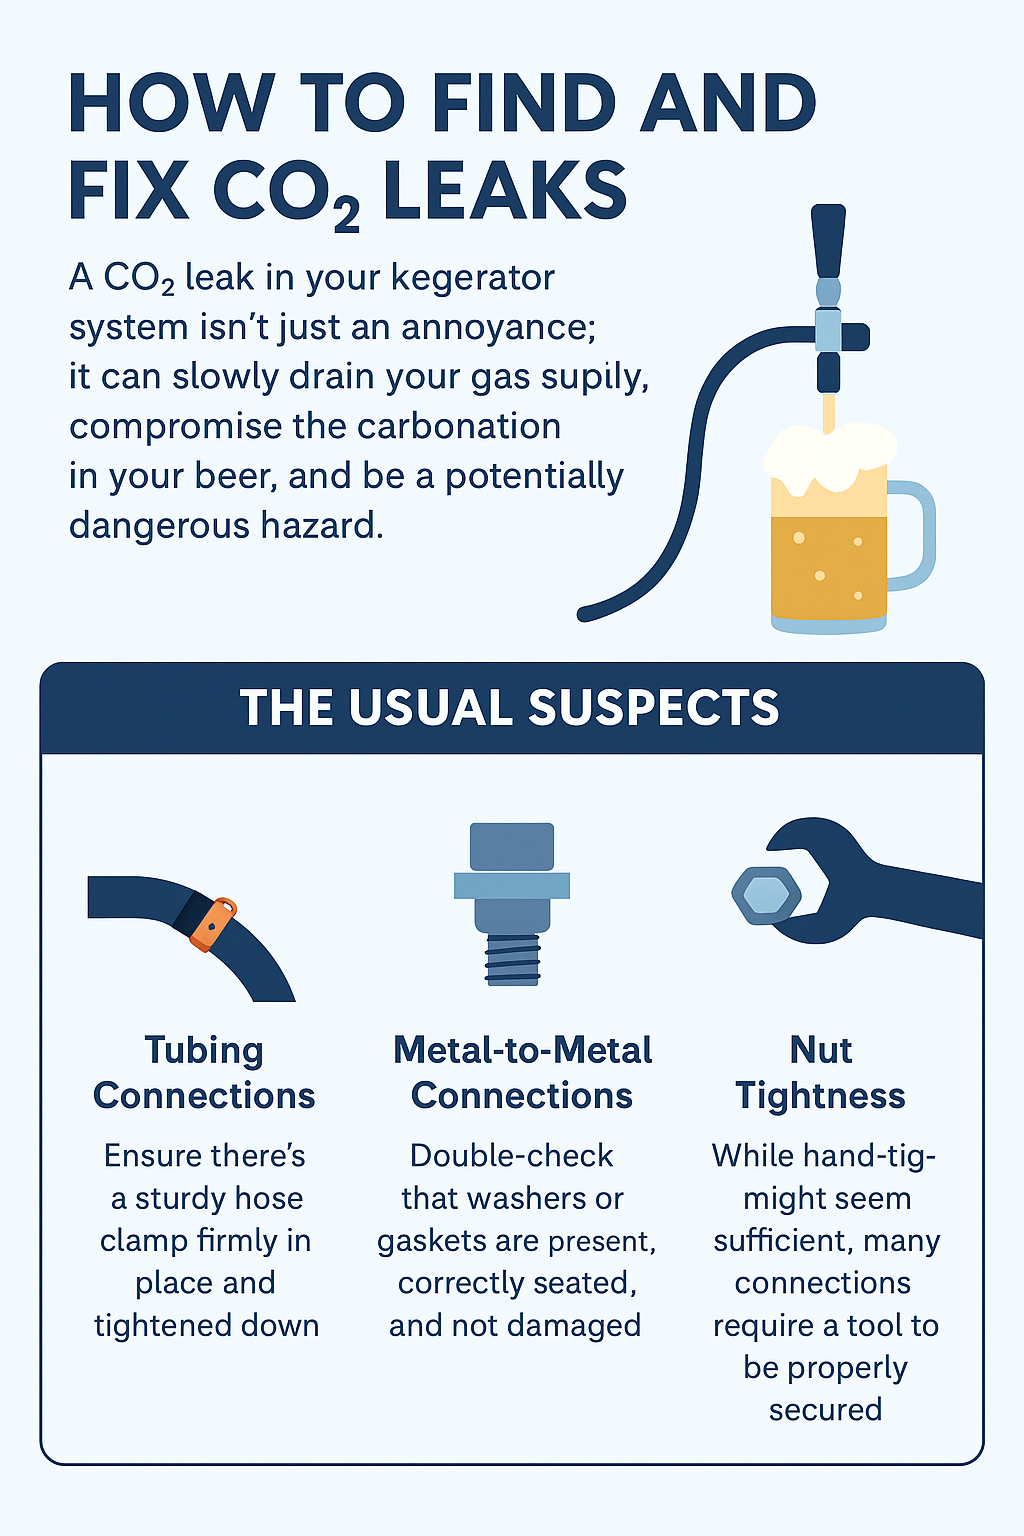
Taming the Hiss: Your Comprehensive Guide to Finding and Fixing CO2 Leaks
There's nothing quite as frustrating as reaching for a perfectly carbonated pint, only to be met with a disappointing hiss and a flat brew. A CO2 leak in your kegerator system isn't just an annoyance; it can slowly drain your gas supply, compromise that delicious fizz in your beer, and be a potentially dangerous hazard. But don't despair! Most leaks are surprisingly common and fixable. This guide will walk you through exactly how to hunt down and eliminate those pesky leaks, ensuring your beer stays perfectly bubbly.
The Usual Suspects: Where Leaks Love to Hide
When you first set up your kegerator, or after you've moved it, there are several connection points where things can go awry. These are the prime suspects for any CO2 leak you might encounter.
Tubing Connections: Any point where your CO2 tubing connects to another component (like the regulator or a manifold) is a potential leak point. Ensure there's a sturdy hose clamp firmly in place and tightened down. A loose clamp is an open invitation for gas to escape.
Metal-to-Metal Connections: When metal components meet, a washer or gasket is usually involved to create a seal. Double-check that these are present, correctly seated, and not damaged. Think of the connection between your CO2 tank and the regulator, or beneath your beer nut on the coupler.
Nut Tightness: While hand-tight might seem sufficient, many connections, especially those involving threaded fittings, require a tool to be properly secured. Make sure any nuts are tightened down with an appropriate wrench, not just by hand.
A staggering amount of CO2 leaks originate from one of these three areas. Give them a thorough once-over before moving on. If you've checked these and still suspect a leak, it's time to get a little more investigative.
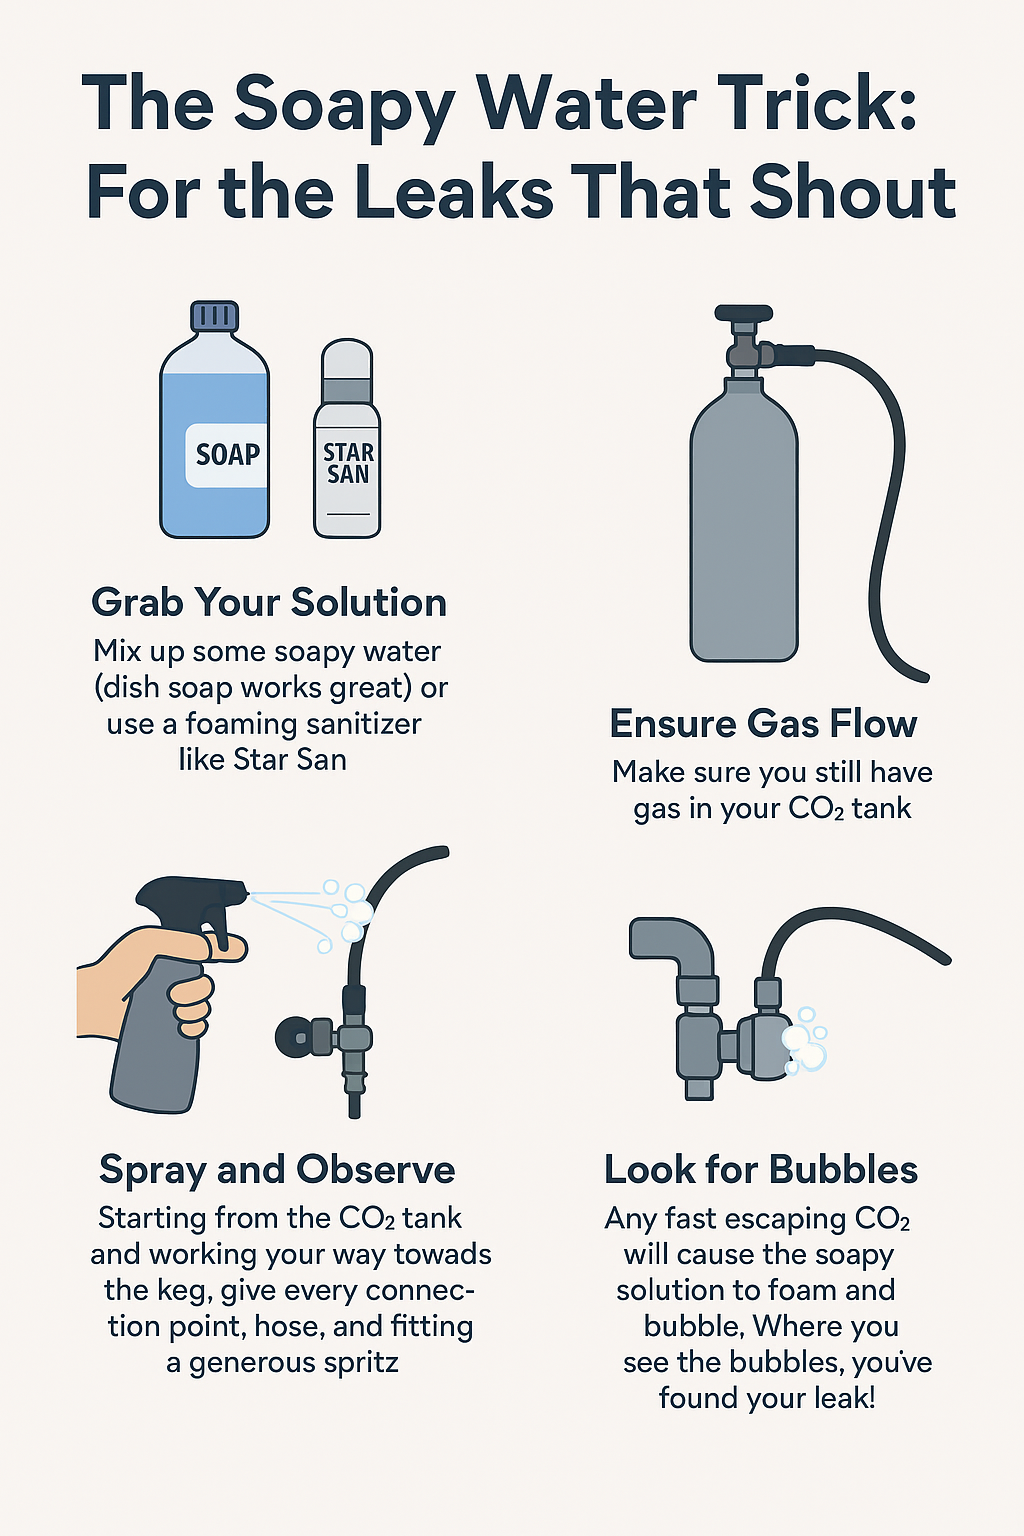
2. The Soapy Water Trick: For the Leaks That Shout
If you've got a leak that's really letting loose, the easiest way to find it is with a simple visual cue.
Grab Your Solution: Mix up some soapy water (dish soap works great) or use a foaming sanitizer like Star San.
Ensure Gas Flow: Make sure you still have gas in your CO2 tank.
Spray and Observe: Starting from the CO2 tank and working your way towards the keg, give every connection point, hose, and fitting a generous spritz.
Look for Bubbles: Any fast escaping CO2 will cause the soapy solution to foam and bubble. Where you see the bubbles, you've found your leak!
This method is fantastic for identifying faster leaks. However, some leaks are far more subtle and require a more patient approach.
3. The Slow Burn: Diagnosing Gradual Gas Loss
For those leaks that seem to be slowly, silently draining your tank, you'll need to employ a more systematic, time-based strategy. This involves isolating sections of your system and observing pressure changes.
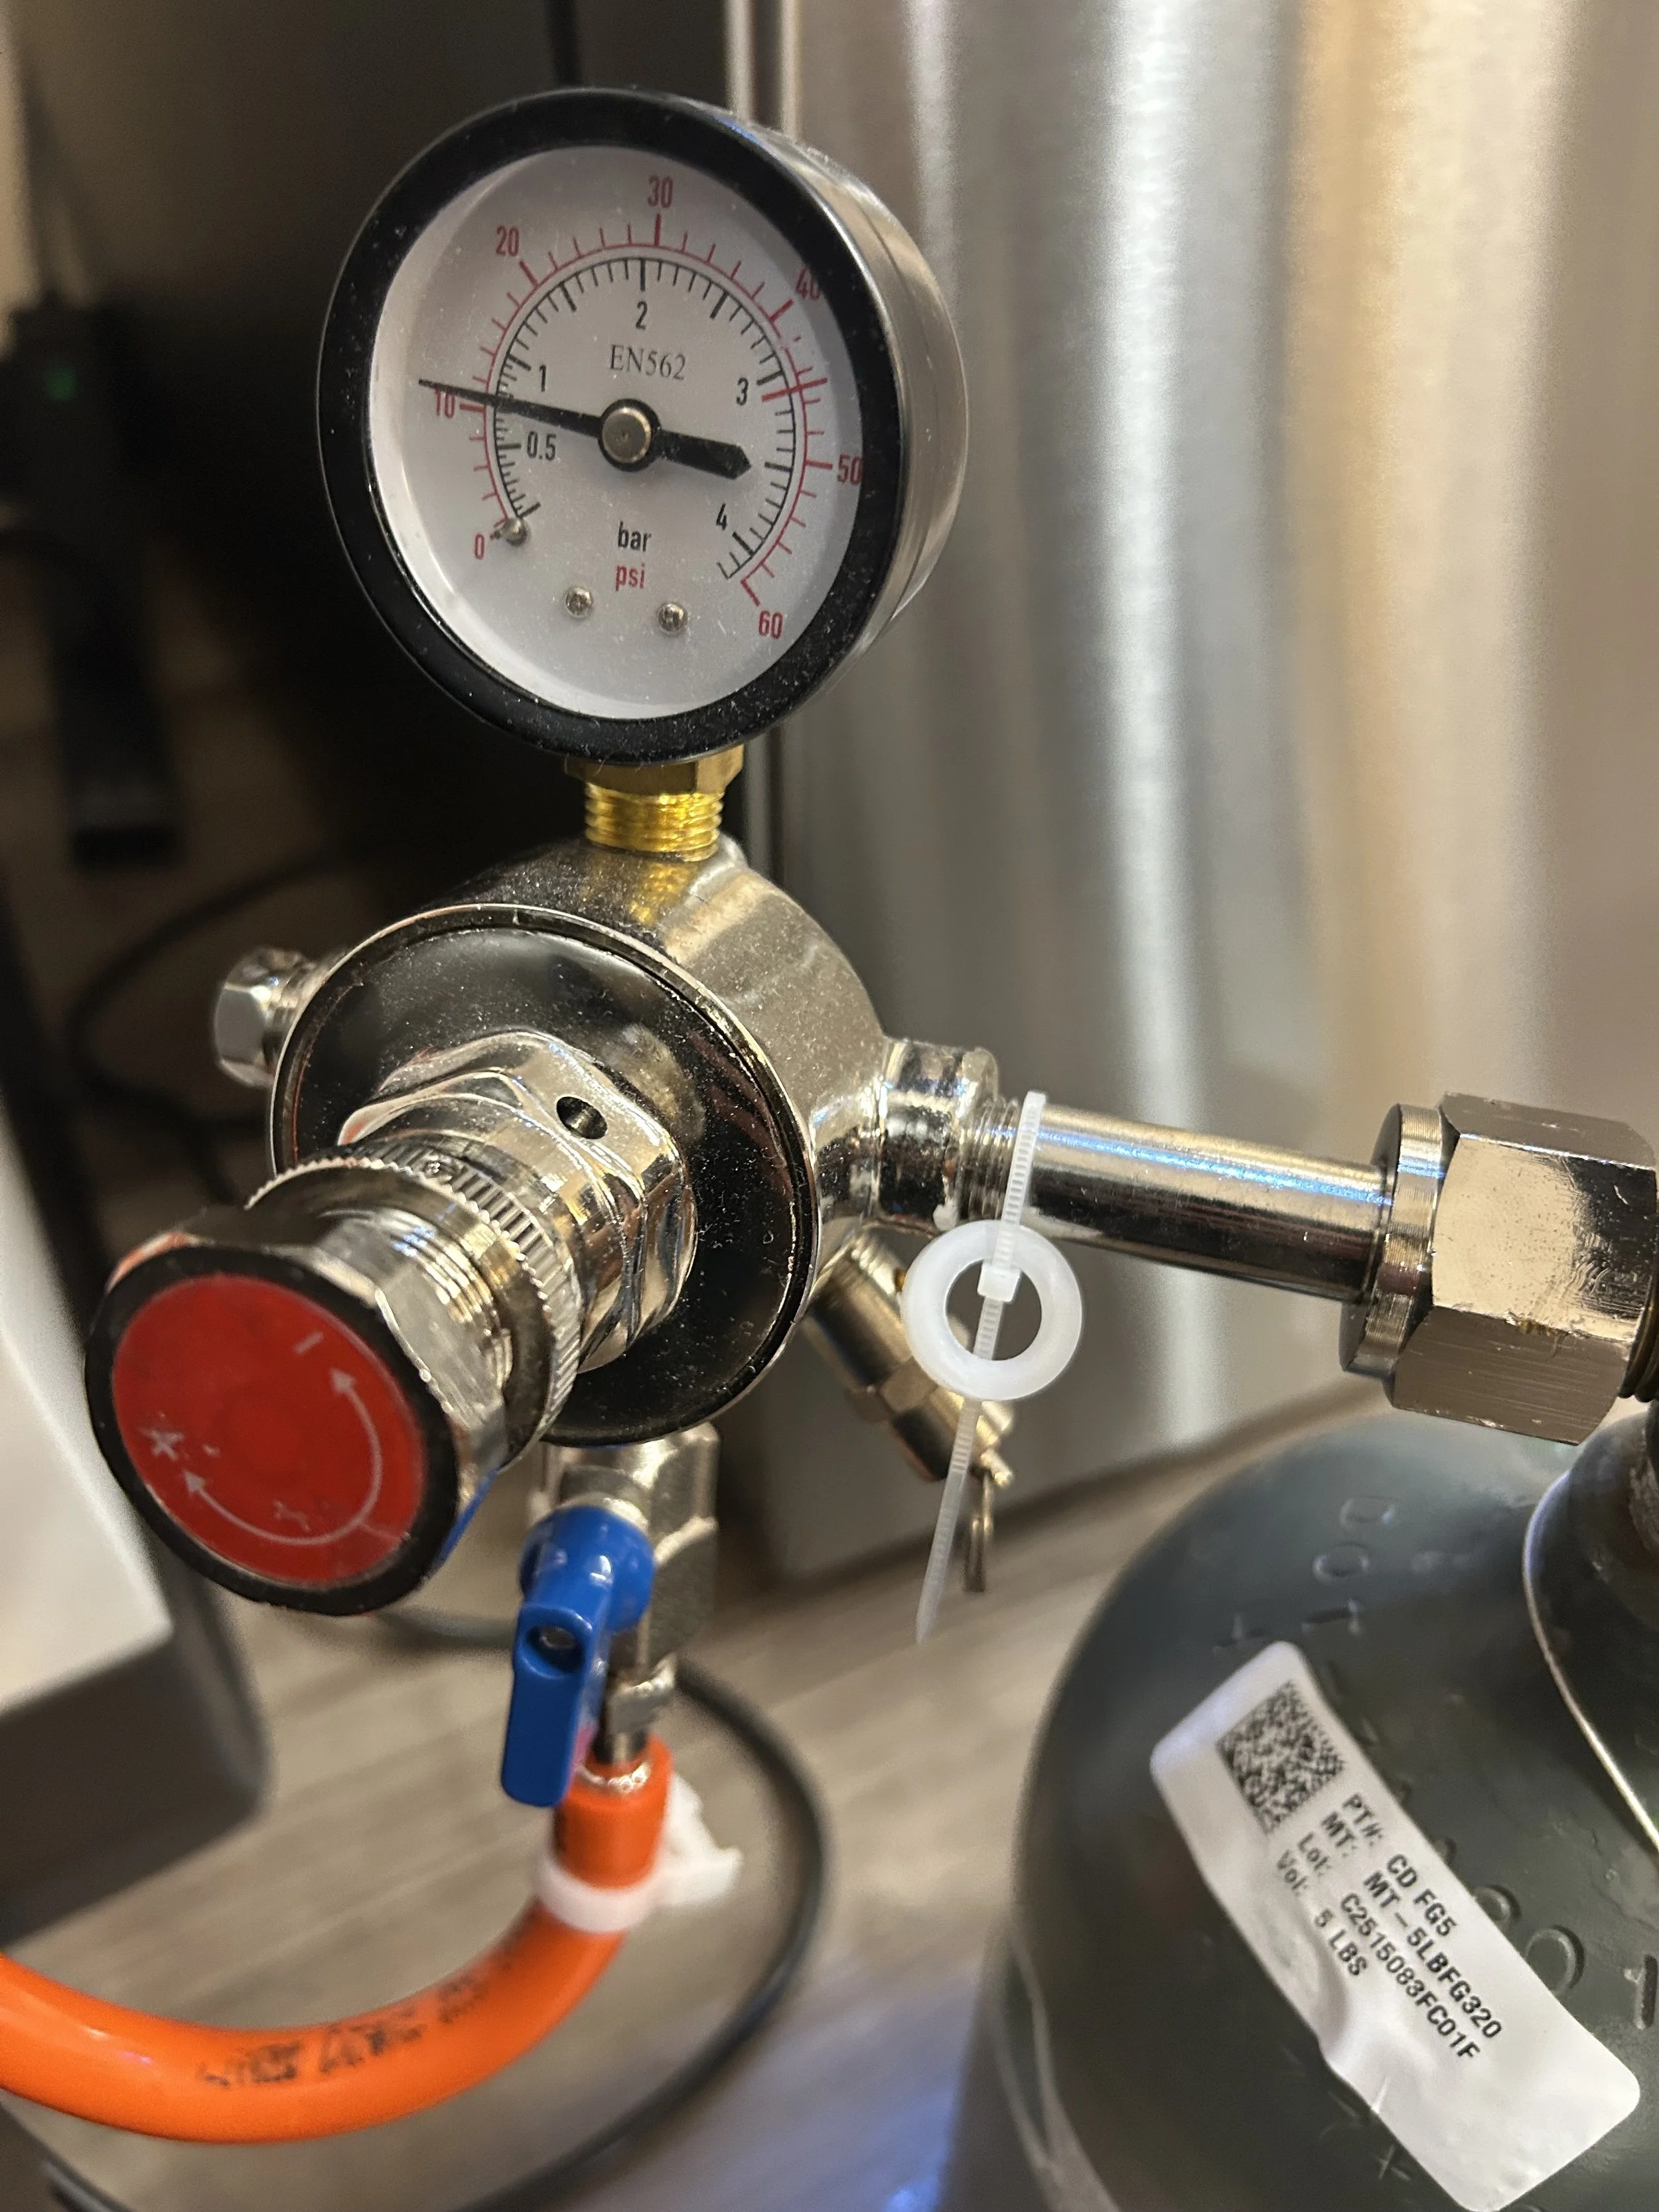
Step 1: The Regulator and Tank Connection
Initial Pressure: Set up your system as usual and ensure the pressure on your regulator gauge is steady for a minute or two.
Isolate the Test Region: Locate the shut-off valve below the regulator (this is the valve that controls gas flow from the regulator to the tubing onward, not the pressure adjustment knob). Close this valve. (Note: Not all regulators have this specific valve. If yours doesn't, you'll proceed, but your diagnostic range will be wider).
Record Pressure: Note the pressure reading on your regulator gauge.
Wait and Watch: Turn off the main CO2 tank valve (the one on top of the tank) and leave the system overnight.
Check for Drop: When you return, check the regulator gauge. Has the pressure dropped?
Test Tank Valve: Turn the main CO2 tank valve back on. Does the needle move?
If the pressure dropped and turning the tank valve back on affects the gauge: The leak is likely either within the regulator itself or at the connection point between the tank and the regulator.
Regulator Leak: Inspect the seals and O-rings within your regulator. These can often be replaced. If it's a persistent issue, the regulator might need repair or replacement.
Tank Connection Leak: This is often due to a missing or damaged nylon CO2 washer. Ensure a fresh washer is properly seated and retest.
Step 2: From Regulator to Manifold (if applicable)
Repressurize: With the tank valve open and the regulator valve (from Step 1) open, repressurize your system to your desired level.
Isolate the Manifold: If you have a manifold, close the valves that lead to your keg lines. If you don't have a manifold, skip to Step 3.
Wait and Watch: Turn off the tank valve and leave the system pressurized overnight.
Check for Drop: Return and turn the main CO2 tank valve back on. Does the regulator gauge needle move?
If the needle moved: Pressure was lost somewhere between the regulator and the manifold.
Hose and Clamp Check: Ensure hose clamps are tight on both ends of the tubing leading from the regulator and to the manifold.
Barb Fit: Verify that the barb fitting your tubing attaches to is the correct size – it should be a snug fit.
Manifold Valve Function: Confirm that the valves on your manifold are sealing properly when closed.
Step 3: Manifold to Coupler
Repressurize: Ensure your system is fully pressurized again.
Isolate Couplers: Lift the handles on your couplers (as if you were about to connect them to a keg, but don't actually connect them).
Close Valves: Shut the valves on your manifold that lead to these couplers. Turn off the main CO2 tank valve.
Wait and Watch: Leave the system overnight.
Systematic Opening: Return and turn the main CO2 tank valve back on. Now, slowly open each manifold valve one at a time, watching the regulator gauge.
If opening a specific manifold valve causes the gauge to move: The leak is located between that manifold valve and the coupler.
Hose and Clamp Check: Again, check the hose clamps and ensure the barb fitting is the correct size for your tubing.
Coupler Connection: If the hose and clamps are secure, the issue may lie with the coupler itself. Inspect the barb where the hose attaches to the coupler tailpiece and ensure a hose clamp is present and tight.
Beer Washer: Check for a beer washer between the nut and the coupler body, and ensure it's tightened with a tool.
Probe Seal: Examine the probe seal within the coupler. A small amount of keg lube can help create a better seal if it appears dry.
Step 4: Coupler Seal and the Keg Itself
Final Connection: If all previous steps have passed, connect the coupler you suspect to a keg.
Pressurize: Fully pressurize the system.
Wait and Watch: Turn off the CO2 tank valve and leave it overnight.
Check for Drop: Turn the CO2 tank valve back on and observe the regulator gauge.
If the needle moves and you've ruled out all other areas, the leak is either at the body seal of your coupler where it meets the keg, or the keg itself might have an issue.
Coupler Seal: Try adding keg lube to the coupler's body seal or replace the seal if it looks worn.
Keg Issue: If the problem persists after addressing the coupler seal, the keg itself could be the culprit. This is less common, but could indicate:
Over-absorption: The beer inside might be absorbing more CO2 than expected, creating a pressure imbalance. This can happen if the beer is flat or the set pressure is too high for the beer's current carbonation level.
Defunct Keg: In rare cases, the keg itself might have a faulty seal or structural issue.
Verification: To confirm if it's the keg, try connecting the same coupler to a different keg and a different coupler to the original keg. If the leak only occurs with that specific keg, it points strongly to the keg itself. Contact the keg manufacturer if you suspect a defect.
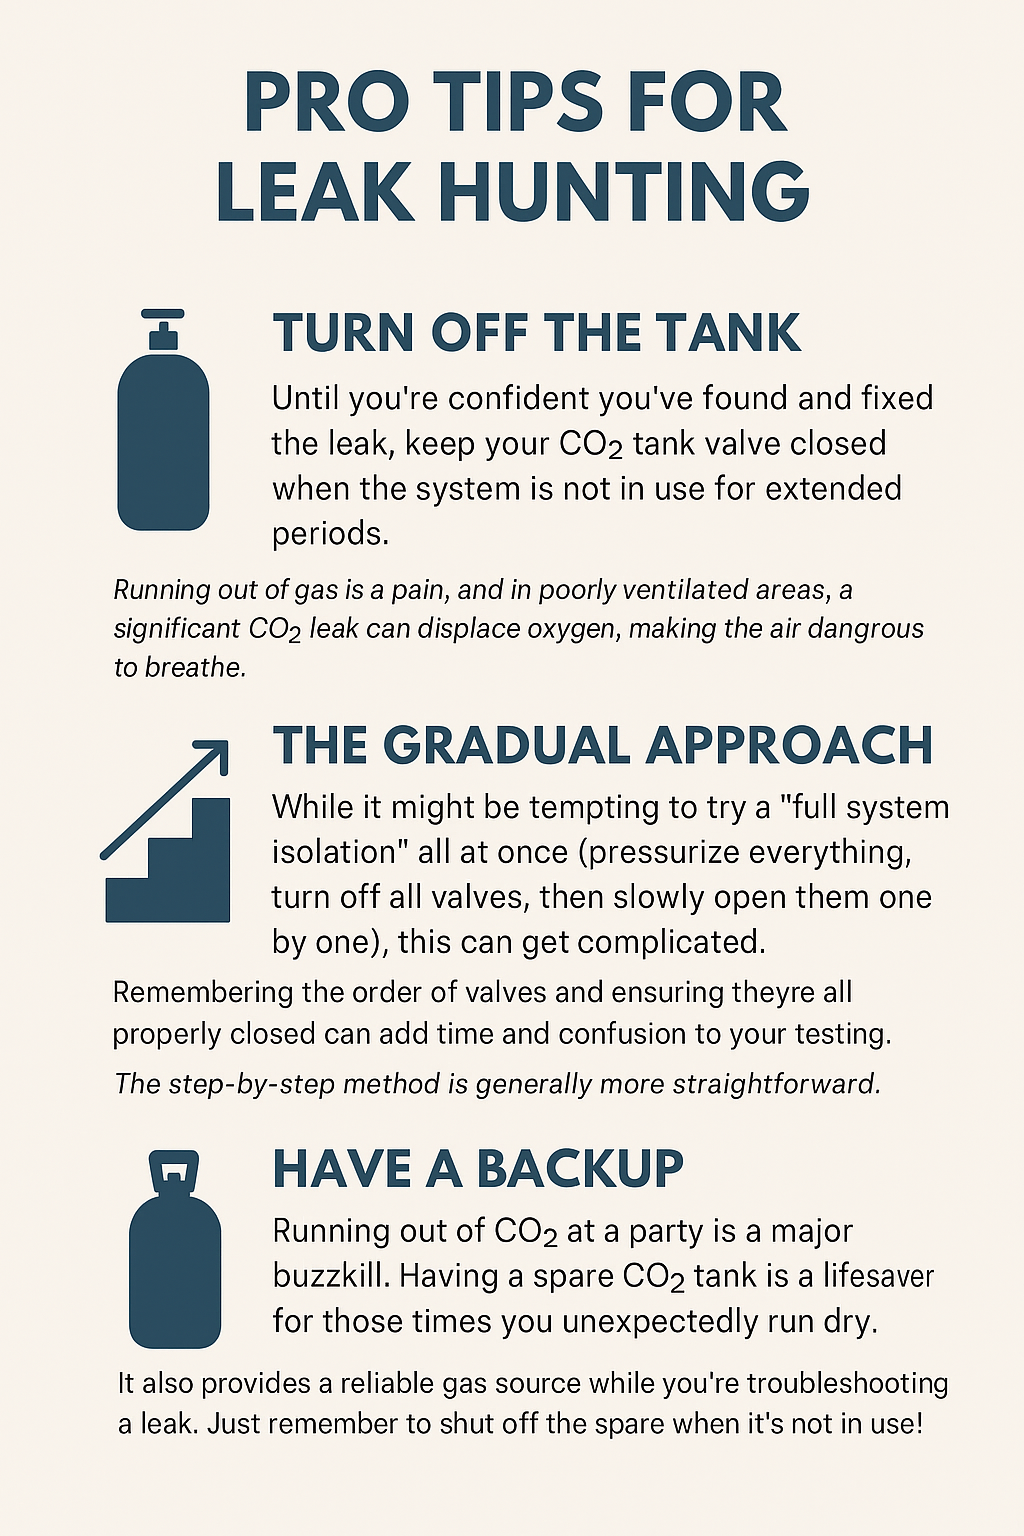
Pro Tips for Leak Hunting
Turn Off the Tank: Until you're confident you've found and fixed the leak, keep your CO2 tank valve closed when the system is not in use for extended periods. Running out of gas is a pain, and in poorly ventilated areas, a significant CO2 leak can displace oxygen, making the air dangerous to breathe.
The Gradual Approach: While it might be tempting to try a "full system isolation" all at once (pressurize everything, turn off all valves, then slowly open them one by one), this can get complicated. Remembering the order of valves and ensuring they're all properly closed can add time and confusion to your testing. The step-by-step method is generally more straightforward.
Have a Backup: Running out of CO2 at a party is a major buzzkill. Having a spare CO2 tank is a lifesaver for those times you unexpectedly run dry. It also provides a reliable gas source while you're troubleshooting a leak. Just remember to shut off the spare when it's not in use!
By systematically working through these steps, you'll be well-equipped to banish those CO2 leaks and get back to enjoying perfectly carbonated beverages. Cheers!